The following tasks are presented in the order you would perform them to set up DB Connector for your organization. Use this list to quickly jump to individual tasks:
- Create Connector Groups
- Create Connectors
- Configure a Connector Health Check
- Configure Connector Groups
- Configure the Connector Data Link
- Register or Unregister Connectors
- Start or Stop a Connector
- Activate or Deactivate a Connector
Create Connector Groups
You can create multiple connectors and group them to provide for redundancy and continuity in case one connector fails. You can also create different connector groups for connectors that serve different purposes. When you create a DB Connector group in Central, it also appears in the DB Connector application on the DB Connector server.
When you create a connector group in Central, it also appears in the DB Connector application on the DB Connector server.
If you are not creating multiple connectors or do not plan to use multiple connectors for failover, you can safely skip this step.
-
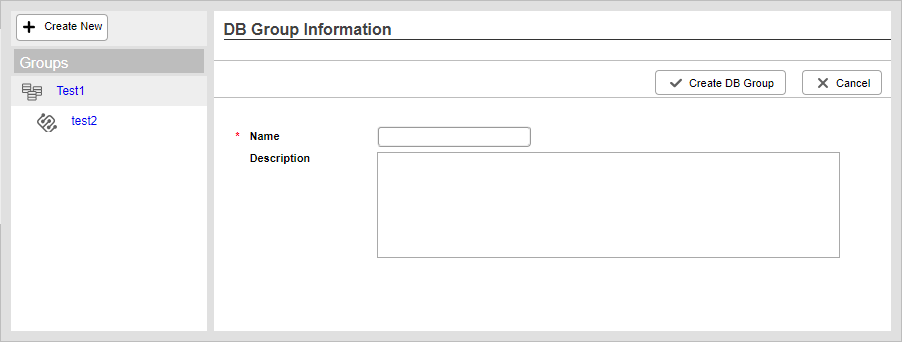
- Click New and select DB Connector Groups.
- Type a Name and Description.
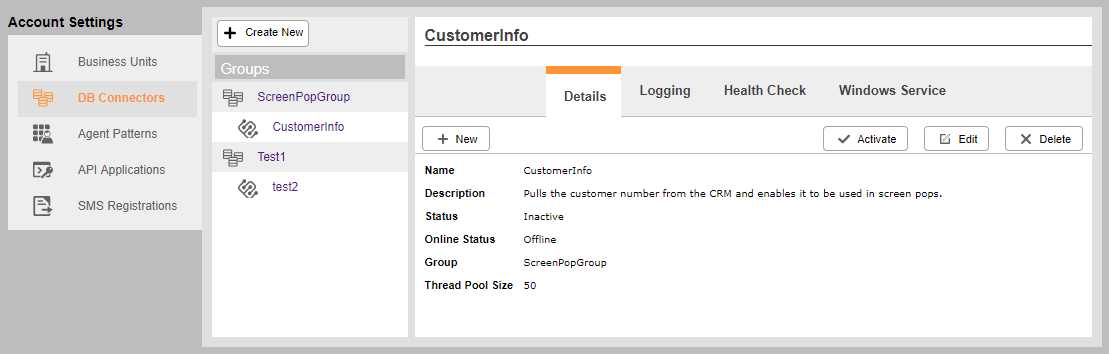
- Click Create DB Group. Your new group appears in the tree view in the left pane of the preceding image, and also appears in the Group drop-down when you create connectors. You also gain access to additional tabs so you can configure the group.

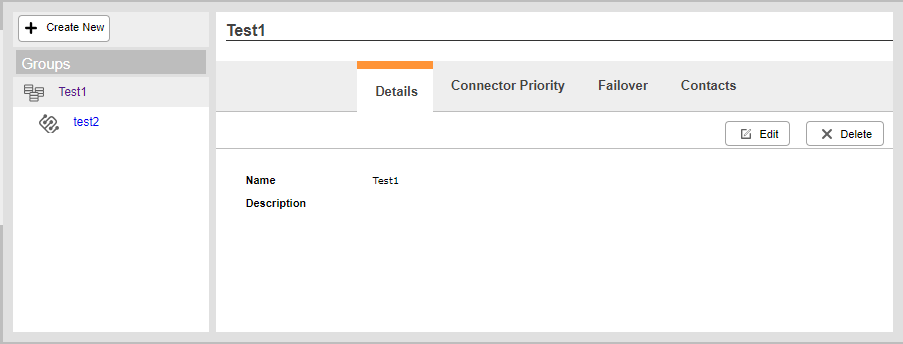
- Click the Contacts tab.
- Click Edit. Enter the contact information for the person at your company who should be contacted in case of a database connector failure. You can provide a Name, Email, and Phone Number.
- Click Done.
Create Connectors
When you create a connector in Central, it also appears in the DB Connector application on the DB Connector server.
-
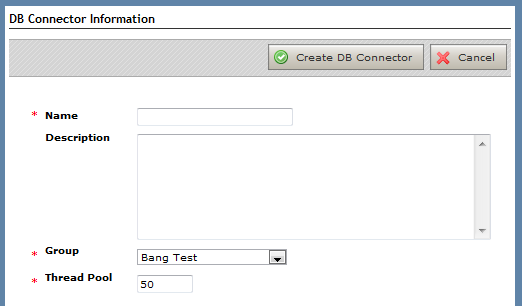
- Click New and select Database Connectors.
- Type a Name and Description.
- For Group, select the group to which this connector should be assigned from the drop-down of available groups.
- Type a numeric value in Thread Pool. A thread pool is the number of concurrent tasks (or threads) that run at the same time. This parameter can be tuned to provide the best performance. A larger thread pool increases resource use but may allow for faster results. The default value is 50.
- Click Create DB Connector.
Configure a Connector Health Check
You can optionally configure connectors to test their connection to the database every 30 seconds. This "health check" is an SQL query that you set up (such as a simple select query). You cannot configure a health check for a connector while it is registered as a Windows service. You must either configure the health check before registering the connector, or unregister the connector and then re-register it after the health check is set up.
-
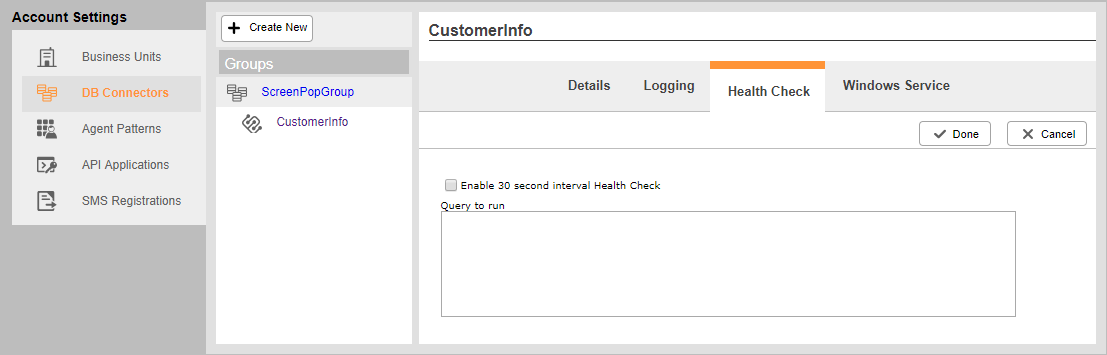
- Click the connector for which you want to configure a health check and then click the Health Check tab.
- Click Edit.
- Select the Enable 30 second interval Health Check checkbox.
- In the Query to run field, type a simple SQL query to be executed using the DB connector.
- Click Done.
Configure Connector Groups
Once multiple connectors have been created and assigned to a connnector group, you can edit the group to configure the Connector Priorityand Failover properties. Failover is an optional configuration that enables the system to switch to a different connector if the specified connector fails. Connector priority tells the system which connector should receive commands by default and the order in which connectors will be used in the case of a failover.
While connector groups are most commonly used specifically for multiple connectors that work together for failover protection, you could use groups to organize different connectors that are used for similar purposes. In that scenario, you would not configure Connector Priority or Failover properties for the connector group.
You cannot configure groups if one or more of the connectors in that group is registered. You would first need to unregister the connectors, configure the group, and then re-register the connectors.
-
- Click the desired group from the Groups column.
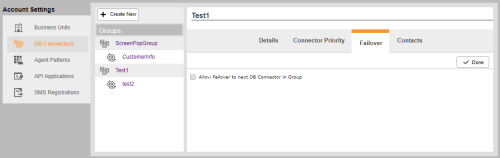
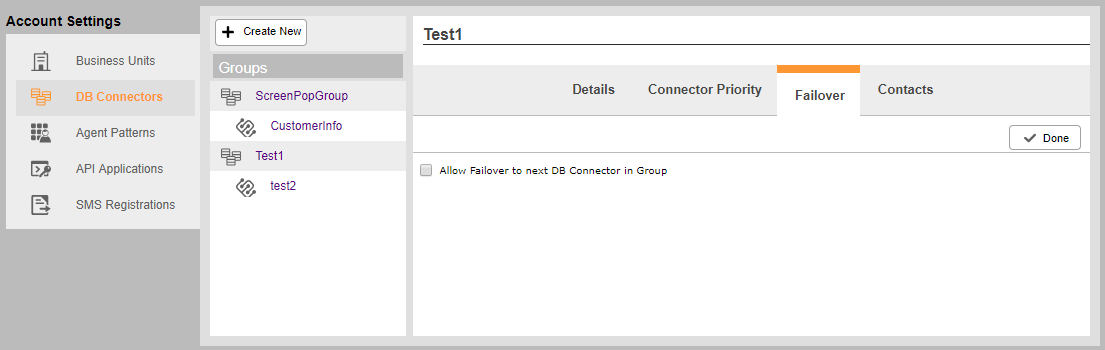
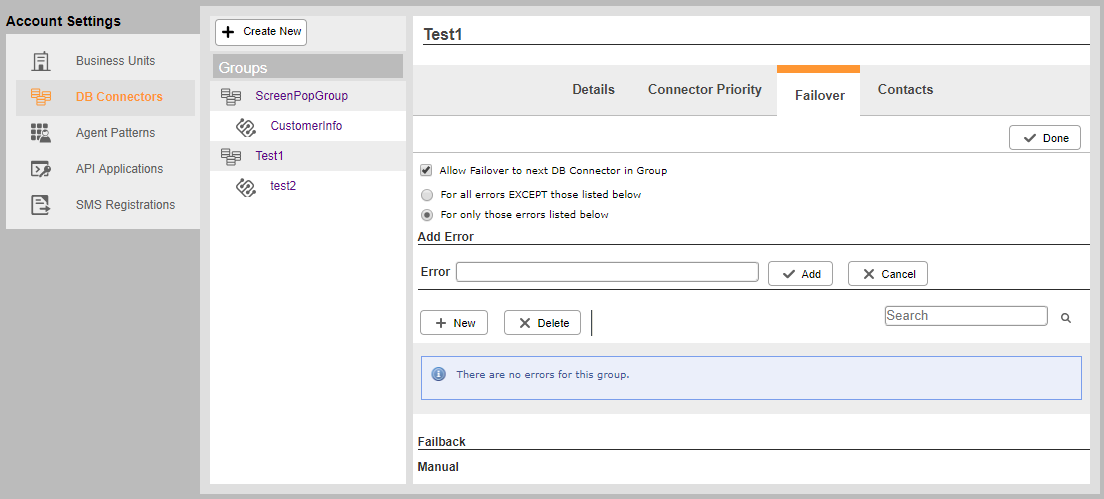
- Click the Failover tab and then click Edit.
- Select the checkbox for Allow Failover to next DB Connector in Group.
-
 Configure failover options.
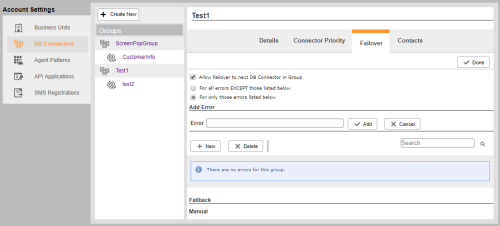
- Select the option that matches how you want to trigger failover behavior. You can choose either For all errors EXCEPT those listed below or For only those errors listed below.
- Type an error in the Error field and then click Add. You can enter specific errors if you know the text of those errors. To trigger a failover for any database error, type Exception in the Error field. All database errors begin with this word.
- When you are finished entering errors, click Done.
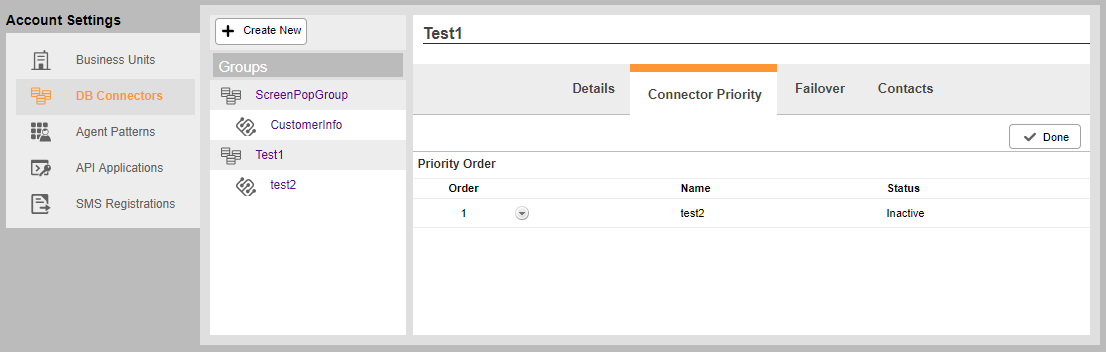
- Click the Connector Priority tab and then click Edit.
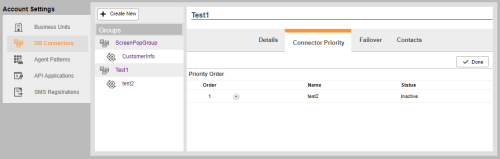
- Click the icon to the right of each connector's number in the Order field to change that connector's position in the list. By default, connectors in a group are used in the order in which you created them.
- Click Done.
Configure the Connector Data Link
You must configure connectors and connector groups in Central before you perform this task in the DB Connector application. You cannot configure data links for connectors that are registered. If you need to reconfigure the data link for a connector that is actively running, you must deactivate the connector in Central, then stop it and finally unregister it in the DB Connector application. When you have finished your configuration, reverse those steps to put the connector back into production: register and start the connector in the DB Connector application, and then activate it in Central.
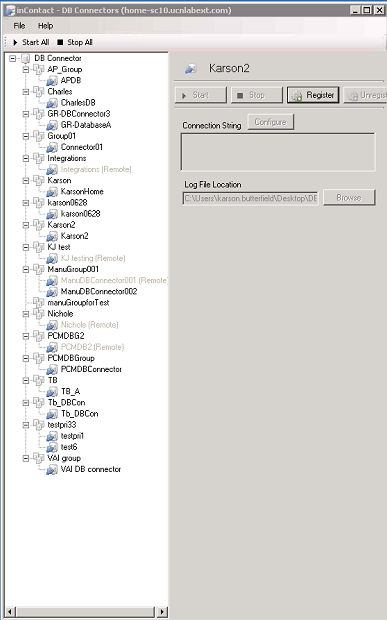
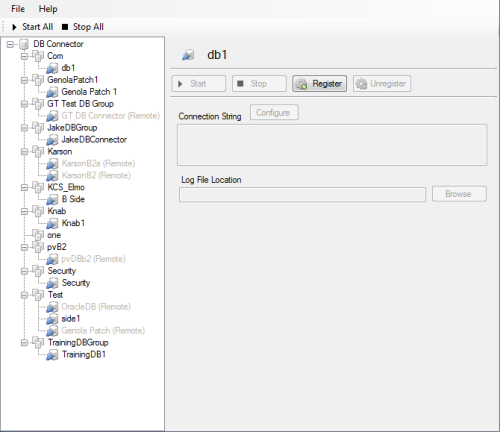
- Open the DBCCFG application on the DB Connector server.
- Click the connector you want to configure.
- In the Reminder to Activate dialog, click OK.
- Click Configure above the Connection String field.
- In the Data Link Properties dialog, click the Provider tab and then click the provider type for your database.
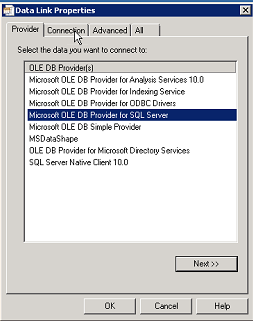
-
Configure an SQL database connection.
This step provides instructions for configuring a connection to an SQL database. If you are connecting to an OLE DB provider, skip this step.
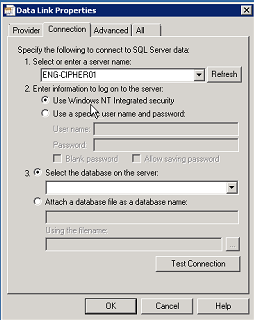
- For field 1, type the name of your database server or select it from the drop-down of detected servers.
- For field 2, specify the type of account the connector will use to access the database by selecting a radio button. You can choose to use Windows integrated security or provide credentials for a specific user account, depending on how your private database is set up.
- For field 3, select the database/table from the drop-down of databases detected on the server you specified in field 1.
- Click Test Connection to verify that the connector is able to connect to the database using the information you provided.
-
Configure an OLE database connection.
This step provides instructions for configuring a connection to an OLE DB provider. If you configured an SQL connection in the previous step, skip this step and move to the next.
- Select an option from the Specify the Source of Data drop-down box.
-
Select an option from the drop-down under Use data source name or Use a connection string by typing one or clicking Build.
-
Type a user name and password for the account the connector will use to access your private database.
-
(OPTIONAL) Select the checkboxes next to Blank password, Allow saving password to activate the option, or both. These options are not recommended for security reasons.
-
(OPTIONAL) Enter the initial catalog to use by selecting from the drop-down.
- Click Test Connection to verify that the connector is able to connect to the database using the information you provided.
- Click OK.
- Click OK.


Register or Unregister Connectors
Connectors must be registered to run as Windows services on the DB Connector server. You cannot configure any aspect of a connector while it is registered. You can unregister a connector if you need to reconfigure the data link, the connector group, and so forth.
- Open the DBCCFG application on the DB Connector server.
- Select the connector you want to register or unregister.
- Click Register or Unregister if the connector was registered previously.
- In the Reminder to Activate dialog, click OK.
-
(OPTIONAL) Confirm the connector's registration status.
-
- Click the connector.
- If the connector is registered, information for the connector is available on the Windows Service tab.
-
Start or Stop a Connector
Once a connector has been configured and registered, it must be started in order to pass data. You can also stop the connector if necessary to make configuration changes or to uninstall it.
- Open the DBCCFG application on the DB Connector server.
- Click the connector you want to start or stop.
- Click Start, or Stop if the connector is already running.

If you want to uninstall DB Connector from the DB Connector workstation, you must stop all connectors. You can then use the Programs and Features functionality in Windows to remove the application.
Activate or Deactivate a Connector
Connectors cannot be used in Studio scripts until they are activated.
-
- Click the connector you want to activate or deactivate.
- Click Activate, or Deactivate if the connector has previously been activated.


