The NICE inContact Click-To-Dial add-in functionality allows an agent to make an outbound call to a contact directly from the contact workspace in Oracle Service Cloud. Follow the steps below to configure the click-to-dial functionality. For help with troubleshooting the Oracle Service Cloud product, see Oracle's Documentation for Oracle Service Cloud Products.
-
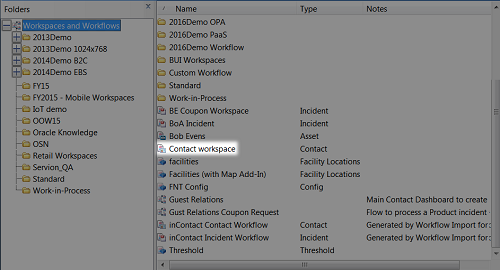
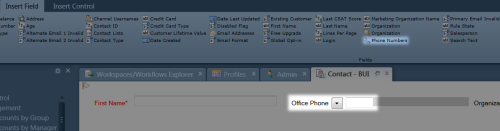
Under Navigation, click Configuration → Application Appearance → Workspaces/Workflows (double click).

-
Double click Contact workspace.
-
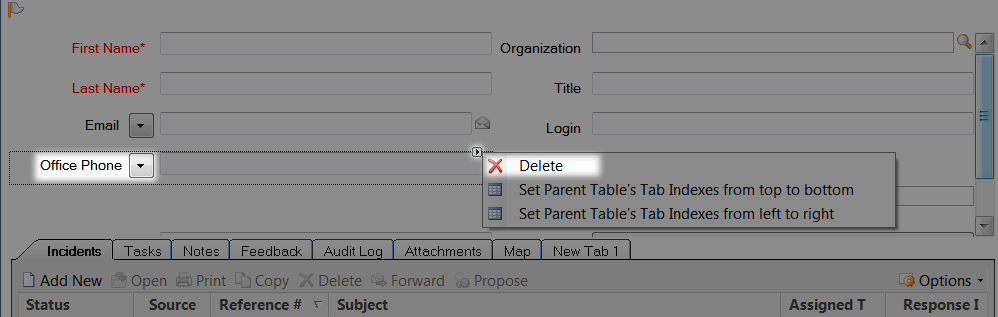
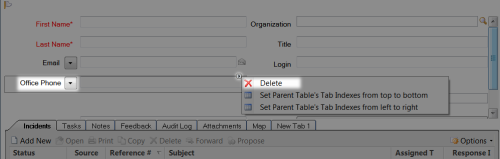
Click the Office Phone field to reveal a right-facing arrow in the upper right-hand corner of the field, and click Delete.
-
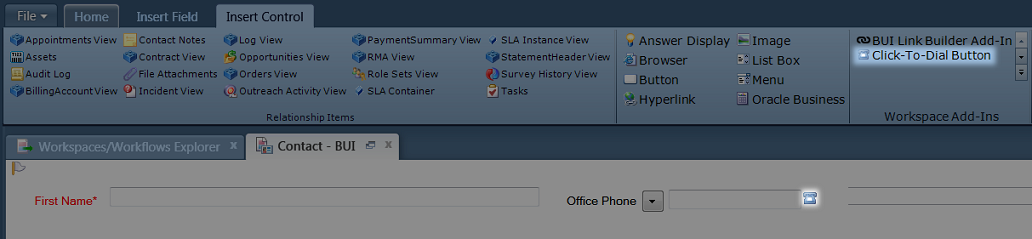
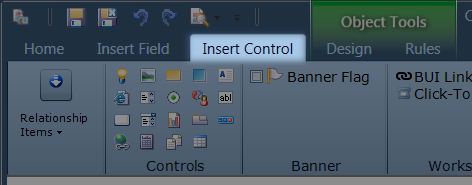
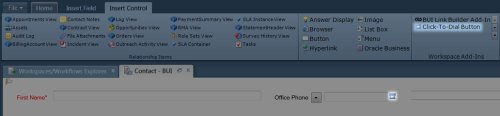
Click Insert Control.
-
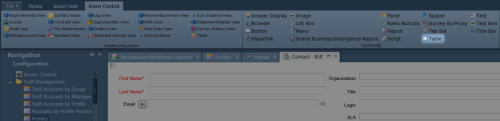
Drag and drop the Table into the Contact Workspace.

-
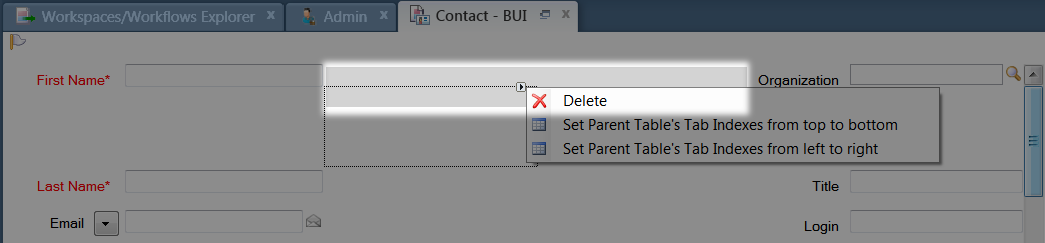
By default, the table will be created with two rows and two columns. Click second row to reveal a right-facing arrow in the upper right-hand corner of the field, and click Delete to remove the row. Repeat this step for the row in the second column.

-
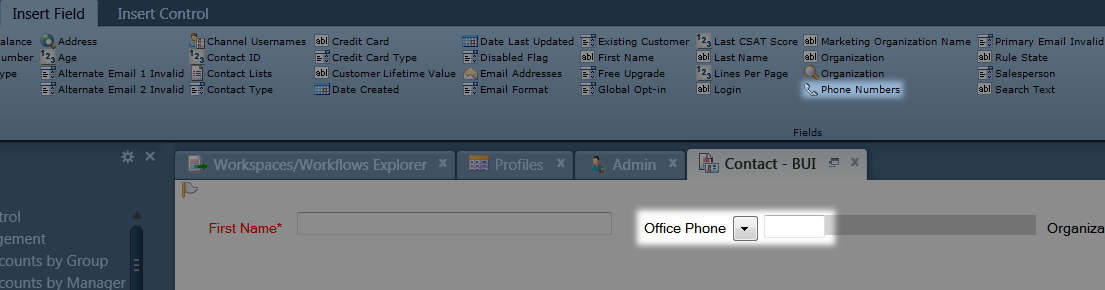
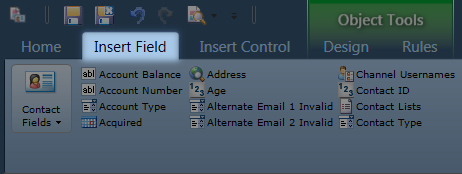
Click Insert Field.
-
Drag and drop Phone Numbers into the first column of the table.
-
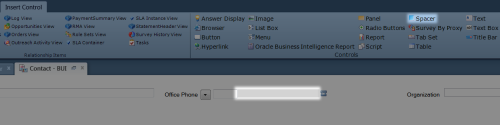
Click Insert Control.
-
Drag and drop Click-To-Dial Button into the second column of the table.
-
To align the fields, drag and drop Spacer between the Office Phone and Click-To-Dial fields.
-
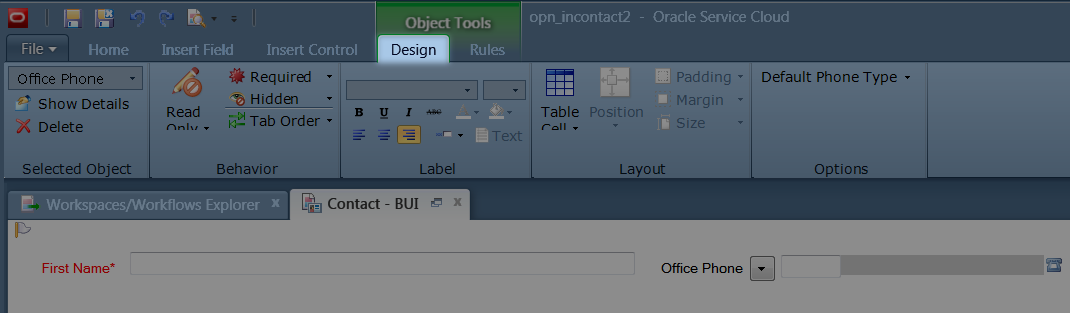
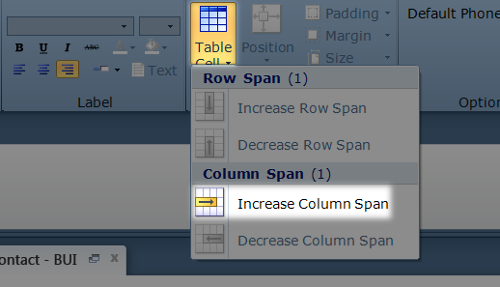
Click the Office Phone field to reveal the Object Tools, then click Design.

-
Click the Table Cell drop-down, and then click Increase Column Span.
-
Click Save.

-
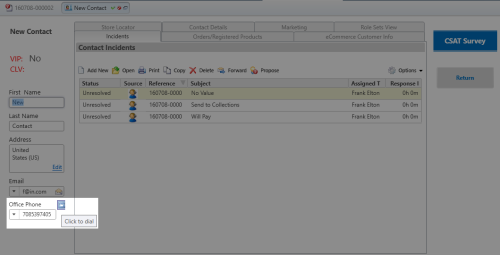
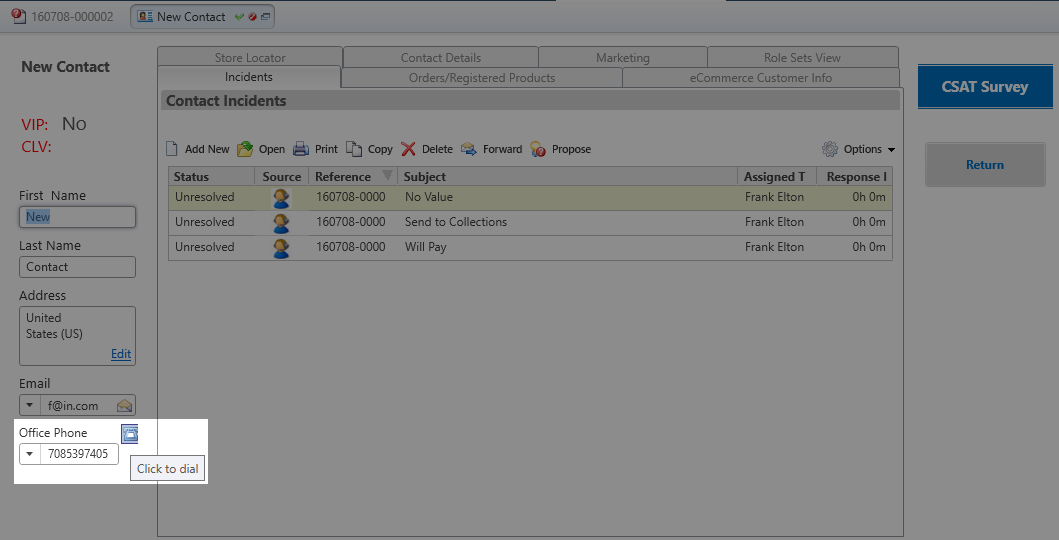
The Click-To-Dial button appears next to the Office Phone for the contact associated with an incident or task.