Metrics are statistics that can be measured and tracked to monitor and improve the performance of your contact center. They can be related to products, quality, efficiency, time, objectives, dispositions, or awards, or can be completely custom. Some metrics, such as number of calls, are simple numeric values. Other metrics, such as average handle time (AHT), are calculated based on other metrics.
System administrators create and manage the metrics in your inView system so that other users can use these metrics in dashboard widgets, to set objectives, and for other purposes.
This topic explains how to create a metric, how to add components to a metric, and how to assign a metric to user groups or campaignsA grouping of skills used to run reports..
Create Metrics
- Click Account → Metrics.
- (OPTIONAL) To limit the number of metrics displayed, use the filter options at the top of the page. You can filter with increasing granularity by using the drop-down lists for Account, Campaign, Skill, and Point of Contact. Once you have made your selections, click Load.
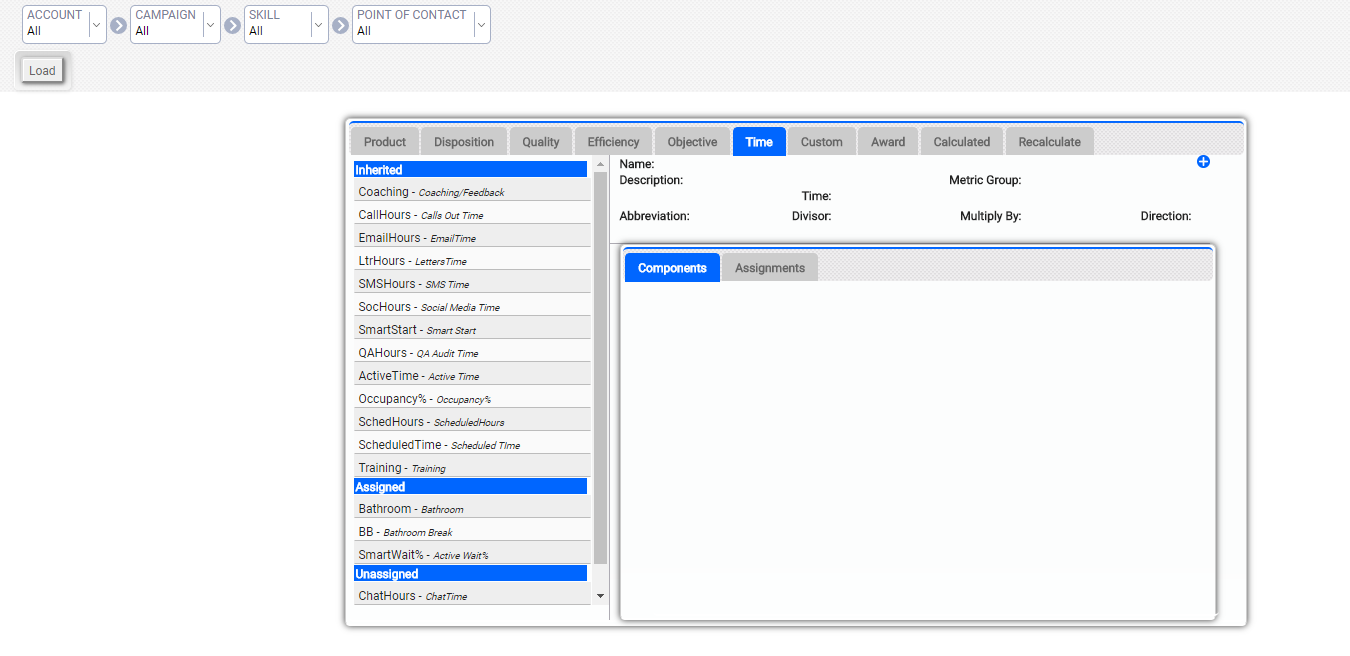
- (OPTIONAL) Click a tab to create a metric for that category. You can also view information for existing metrics in that category by clicking a metric in the list.
- Click the Add icon (indicated by a plus sign in a blue circle).
- Type a Name and, optionally, a Description for the metric.
- For Metric Group, select from the drop-down list of metric groups in your system.
- Configure category-specific settings. For example, metrics in the Product category include a Metric Security field, while metrics in the Time category let you configure the unit of Time.
- (OPTIONAL) Select a Divisor from the drop-down list. These values allow you to use other custom and base metrics to calculate additional metrics. For example, for a metric called Average Hold Time, you would divide total hold time by number of calls. In this case, you would select Calls as the Divisor. If you leave this field at the default value of None, the metric you create can be used as a divisor for other metrics.
- (OPTIONAL) Type a numeric value for Multiply By. This field is commonly used to multiply by 100, thus making small percentages easier to read.
- Click the blue arrow to set the metric Direction. This setting determines whether the metric should trend higher or lower. For instance, most companies want average handle time to trend lower while product conversion should trend higher.
- Click Create.
Add Components to the Metric
- Click the Add icon (indicated by a plus sign in a blue circle) in the top right corner of the Components tab for the metric.
- Select from the drop-down lists at each level (hierarchy of data).
- Click Create.
Assign the Metric
- Click the Assignments tab to assign the metric to a user group or campaign.
- Click the white arrow to the left of the names to view the associated subcategories.
- Click the black arrow to the right of the name to add.
- Check the Assign All box if you want to make the metric available to all groups.


