Coaches, supervisors, and others with appropriate permissions can create tasks and assign them to agents as needed. Agents can create their own task list to manage their priorities. The task list displays Tasks, the Due Date for each task, and who each task was Assigned By (or Assigned To for tasks sent to others). You can sort the list by any of these values. The default sort is in ascending order by due date.
A task with a coaching whistle indicates the task was assigned during a coaching session. Tasks turn red if they are incomplete and the due date has passed.
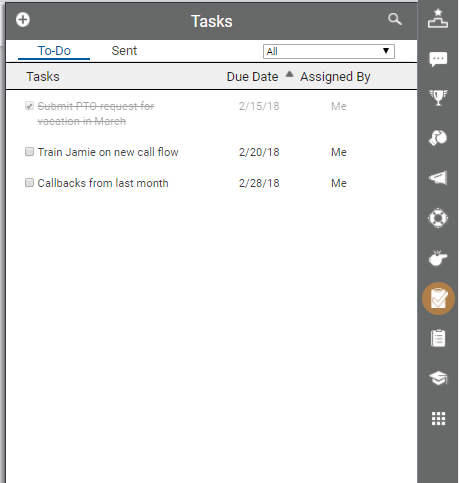
- Click the Tasks icon on the toolbar to display the tasks pane, which opens on a tab with your To-Do list. If you do not see the task you want, you can search for it by clicking the magnifying glass in the upper right corner of the pane. You can also filter the list to display all tasks, incomplete tasks, or tasks completed within the last 30 days.
-
 (OPTIONAL) Create tasks.

- Click the Add icon (indicated by a plus sign in a white circle) in the upper left corner of the tasks pane.
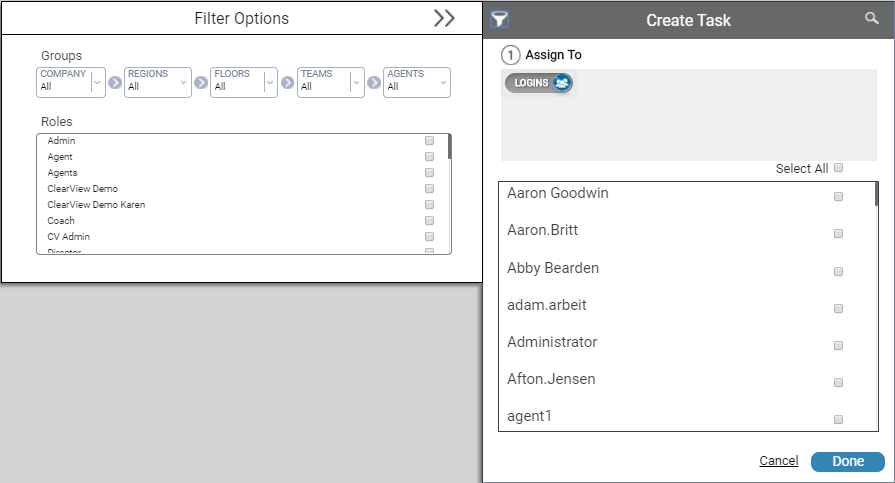
- Select the users the task should be Assigned To. The default value is Self. To assign the task to another, click Self to change the value to Logins and then select one or more other users from the displayed list. You can filter the list by clicking the filter icon in the upper right corner of the pane. You can only assign tasks to others if you have permission to do so. When you are finished, click Done.
- Type the task in Set Task Name. This field is required.
- Set Task Date/Time by clicking in the sub-fields Start Date, Due Date, and Time Due. Use the calendar and clock selectors to complete these fields. If Start Date is set to a future date, the task will not appear in the task list until that date.
- (OPTIONAL) Select the Allow Assignee to Signoff Task checkbox if you want the user to be able to mark the task complete.
- Click Create or, if you change your mind, click Cancel to return to the list of tasks.
- Select the checkbox for a task to mark it complete.
-
(OPTIONAL) Edit or delete tasks.
- Hover over the task you want to edit or delete.
- To delete the task, click the Delete icon (indicated by a minus sign in a red circle) to the right of the task and then click Yes. You may skip the remaining steps this task.
- Click the Edit icon (indicated by a pencil) to the right of the task to make changes.
- Revise the task name, the date and time parameters, or both. You cannot edit the assignees for the task.
- When you have finished your changes, click Edit or, if you change your mind, click Cancel to return to your To-Do list.
- (OPTIONAL) To see a list of tasks you have assigned to others, click the Sent tab.
- When you are finished using the feature, click anywhere on the screen other than the tasks pane to close it.