Required security profile permissions: Users Edit, Groups Edit.
Once you create a group for your NICE inContact WFO environment, you must add users to it. You can do this through the group's Users tab. This is the easiest way to assign users to a group if you want to assign multiple users to the same group at one time. If you want to assign one user to multiple groups at the same time, it is easiest to assign the user to groups using the Groups tab in the user profile.
-
Click Admin → Users → Groups.
-
Locate the group you want to modify. Click the group to open it.
If the group does not exist yet, create a new group.
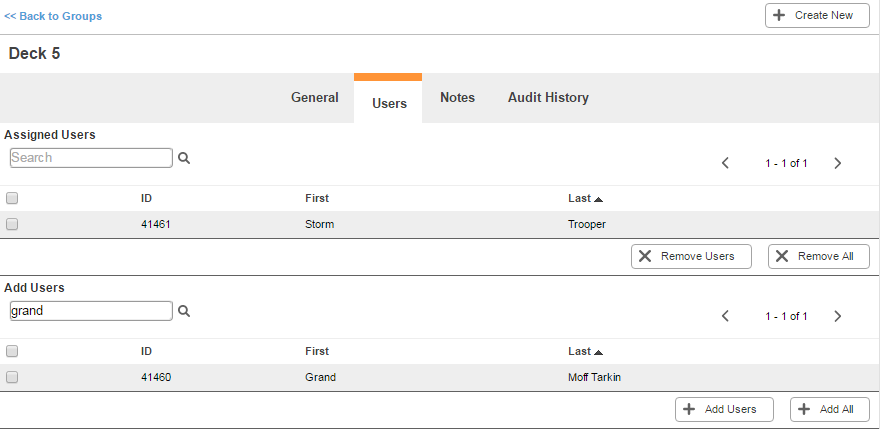
- Click the Users tab.
-
To add users to the group, locate the Add Users section and use the arrows in the top right corner or the search feature in the top left corner to locate the users you want to assign to the group. Select the checkbox corresponding to each user you want to add. Click Add Users.
The users you selected move from the Add Users table to the Assigned Users table and are now members of this group.
-
To remove users from the group, locate the Assigned Users section and use the arrows in the top right corner or the search feature in the top left corner to locate users you want to remove from the group. Select the checkbox corresponding to each user you want to remove. Click Remove Users.
The users you selected move from the Assigned Users table to the Add Users table and are no longer members of this group.


