Required security profile permissions: Points of Contact Create
You can upload multiple points of contact (POCs) at the same time either to create new, or modify existing, POCs. If you use bulk upload to modify existing points of contact, it is a best practice to use the Row Changed column in the file to indicate which points of contacts changed. Otherwise, the platform considers all rows to be updated and takes much longer to upload the file.
You can also use the downloaded file of existing POCs for other purposes if needed.
-
-
Click Create New → Manage Multiple Points of Contact.
-
If you are creating new points of contact, click Download Template or, if you are modifying existing points of contact, click Download Existing Points of Contact. If you want to download this information for use elsewhere, you can disregard the remaining steps in this task.
-
Open the downloaded file in an application that will let you edit it (for example, Excel or Notepad).
- For the Row Changed field, enter a Y if the POC in this row is an existing POC and you are editing its information. If this does not apply, enter an N or leave the column blank.
- Complete the applicable fields for a new POC, or modify the fields you want to change for an existing POC.
- Save the file.
-
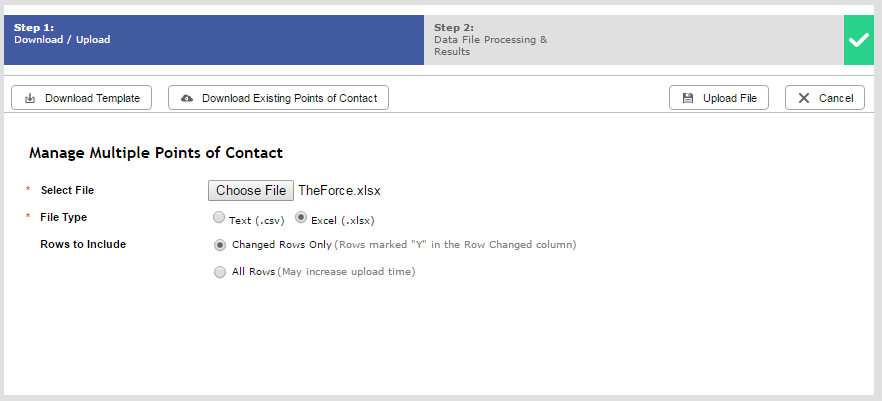
On the Manage Multiple Records page, click Choose File. You can repeat the first two steps of this procedure if you no longer have the page open.
-
Browse for the file you created, select it and click Open.
-
Select the File Type corresponding with the file you chose.
-
Select an option for Rows to Include. If you are creating new points of contact, or modifying existing points of contact and chose not to use the Row Changed column, select All Rows. If you are modifying existing points of contact and chose to use the Row Changed column, select Changed Rows Only.
-
Click Upload File.
-
The Data File Processing & Results page displays a note that you should receive the results of the upload via email. Check your email to verify that no errors occurred during the upload. Resolve any errors that appear by fixing the issue in the file you uploaded, then clicking Back and repeating the upload. If you have no errors, click Close.
If the email indicates that the batch failed, you can find details about the processing of the batch files under the Schedule Run History Report Report.


