Required security profile permissions: Report Schedules Edit or Create; to edit a currently active schedule, Deactivate
Create a Data Download Report Schedule
-
-
Click Create New.
-
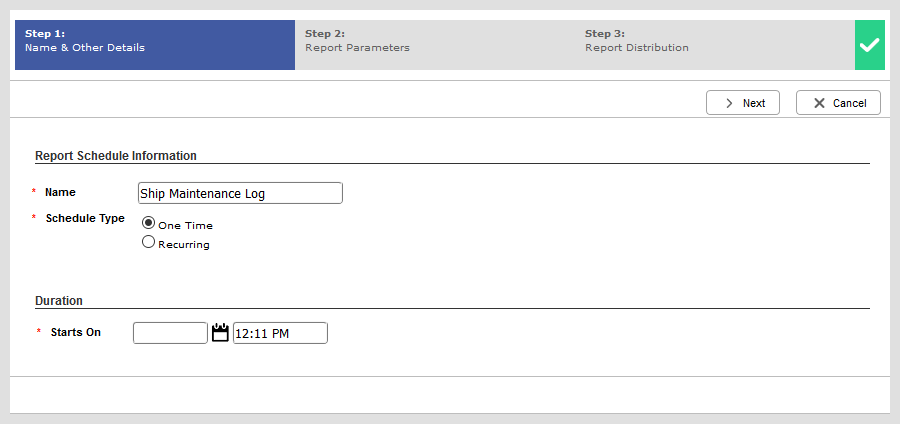
Give the report a unique Name. Set the Schedule Type and specify the date the schedule Starts On.
If this is a Recurring schedule, specify how often the schedule Recurs and when it Ends. Click Next.
-
Select the data download report you want the schedule to generate from the Report drop-down. Choose a Report Format and specify the File Name you want the file to have. You can optionally modify the default Date Range and Start/End Time the report includes, modify the default Delete After setting, or choose to Include Header Row or Append Date to File Name. Click Next.
-
From the Email Recipients table, select the users in your environment you want to receive the report when it generates by selecting the checkboxes corresponding to the users' names. If you want to send the report to people outside of the environment, specify their email addresses in the External Email Addresses text area and delimit them with commas.
- Click Save.
-
(OPTIONAL) If you want to write any special notes about the schedule, click the Notes tab, then click Edit. Write the notes in the text box and click Done.
- Click Activate.
-
Edit a Data Download Report Schedule
-
-
Locate the schedule you want to modify.
If you cannot locate the schedule you want to modify, you may have a filter applied to the table. Set the Show drop-down to All to view all active and inactive schedules in the table.
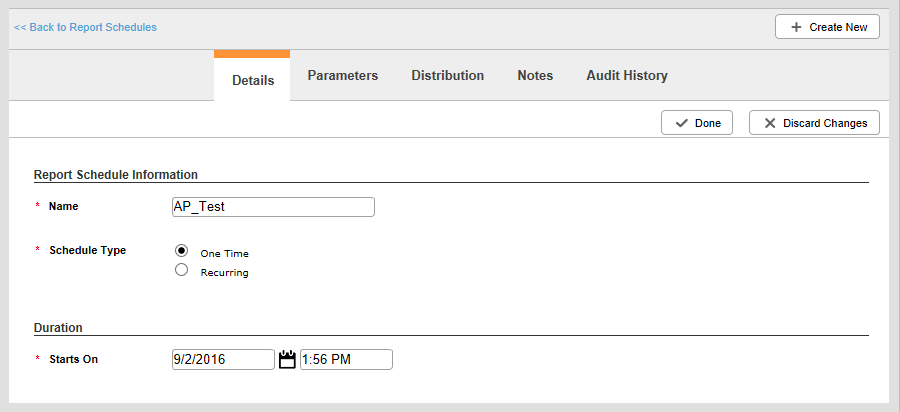
Click the schedule to open the Details page. If the Status on the Details page says Active, click the Deactivate button. When the schedule is inactive, click Edit.
-
Give the report a unique Name. Set the Schedule Type and specify the date the schedule Starts On. If this is a Recurring schedule, specify how often the schedule Recurs and when it Ends. Click Done, click the Parameters tab, then click Edit.
-
Select the data download report you want the schedule to generate from the Report drop-down. Choose a Report Format and specify the File Name you want the file to have. You can optionally modify the default Date Range and Start/End Time the report includes, modify the default Delete After setting, or choose to Include Header Row or Append Date to File Name.
Click Done, click the Distribution tab, then click Edit.
-
From the Email Recipients table, select the users in your environment you want to receive the report when it generates by selecting the checkboxes corresponding to the users' names. If you want to send the report to people outside of the environment, specify their email addresses in the External Email Addresses text area and delimit them with commas.
- Click Done.
-
(OPTIONAL) If you want to write any special notes about the schedule, click the Notes tab, then click Edit. Write the notes in the text box and click Done.
- To activate the schedule, click the Details tab and click Activate.
-


