Badges can be used with the inView achievements feature to add a gamification aspect that agents may enjoy. This topic explains how to create and edit custom badges independently, in conjunction with creating or editing a rule, or both.
Create Manual Badges
- Click Account → Manual Badges.
- Click the Add icon (indicated by a plus sign in a blue circle).
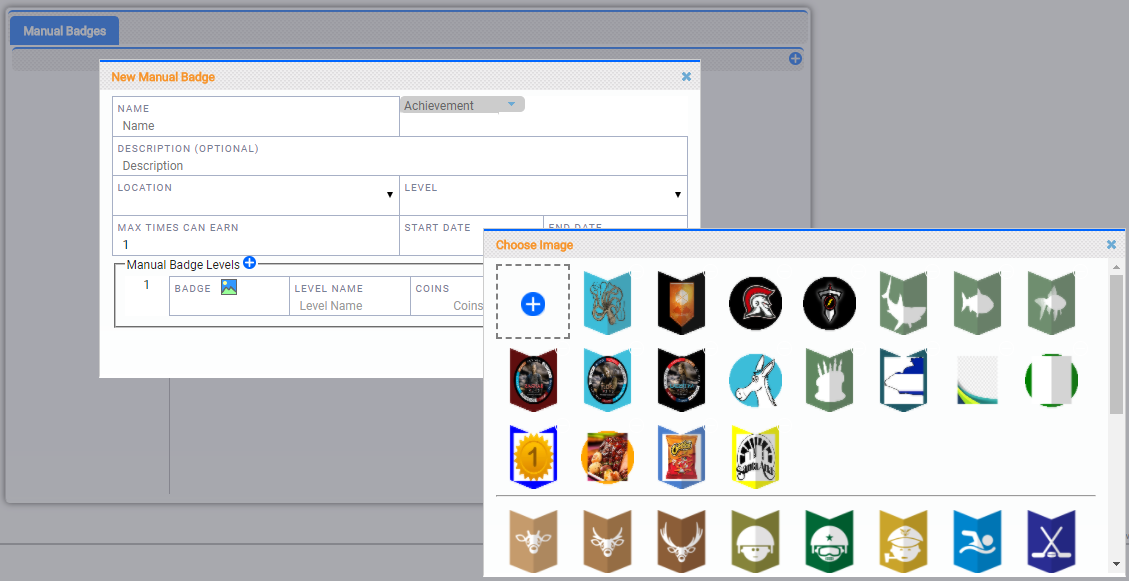
- Type a unique Name for the badge.
- Select the badge type from the drop-down list. The default value is Achievement.
- (OPTIONAL) Type a Description for the badge.
- (OPTIONAL) If the badge is only applicable for a particular site, select a Location from the drop-down list.
- (OPTIONAL) If applicable, select a Level from the drop-down list.
- (OPTIONAL) If agents can only earn the badge a certain number of times, type a numeric value for Max Times Can Earn.
- Use the date selector (indicated by a calendar icon) to set a Start Date.
- (OPTIONAL) Use the date selector (indicated by a calendar icon) to set an End Date. If you leave this field blank, the badge remains available until it is manually removed from your system.
- In the Manual Badge Levels section, click the image in the Badge field to choose an icon for the badge, or to upload a custom icon.
 (OPTIONAL) Upload Custom Icon
- In the Choose Image wizard, click the Add icon (indicated by the plus sign in a blue circle).
- Drag and drop an image in the wizard, or Click to browse, navigate to the image, and click Open.
- Click the Accept icon (indicated by a checkmark on a green background) and then click Next.
- Click the background for the badge and then click Next.
- Customize the color scheme for the badge using the color picker, scale, shading, and white-out options. You can optionally type a Name for the badge icon.
- Click Next.
- Click Finish.
- (OPTIONAL) Type a Level Name. For example, you might create a badge with two levels, Star and Superstar.
- (OPTIONAL) Type a numeric value in the Coins field, the XP field, or both.
- (OPTIONAL) If you want the badge to have more than one level, click the Add icon (indicated by a plus sign in a blue circle) at the top of the Manual Badge Levels section and repeat the previous three steps for each level you want to add.
- Click Save.
Edit Manual Badges
- Click Account → Manual Badges.
- Click the Edit icon (indicated by a pencil).
- Modify the badge configuration. Refer to the previous task for more information on the available options.
- Click Save.
Create Badges in the Rules Engine
This task explains how to add a badge to an existing rule. For more information on setting up rules, see Manage the Rules Engine.
- Click Account → Rules Engine.
- Use the filtering options at the top of the page to limit your search and display the rule to which you want to add a badge.
- Click Edit for the rule.
- Click Next on the Eligibility and Metrics pages.
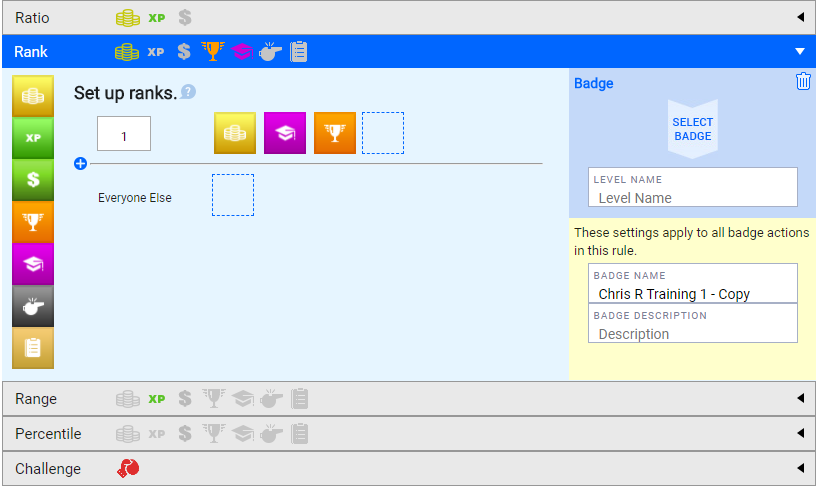
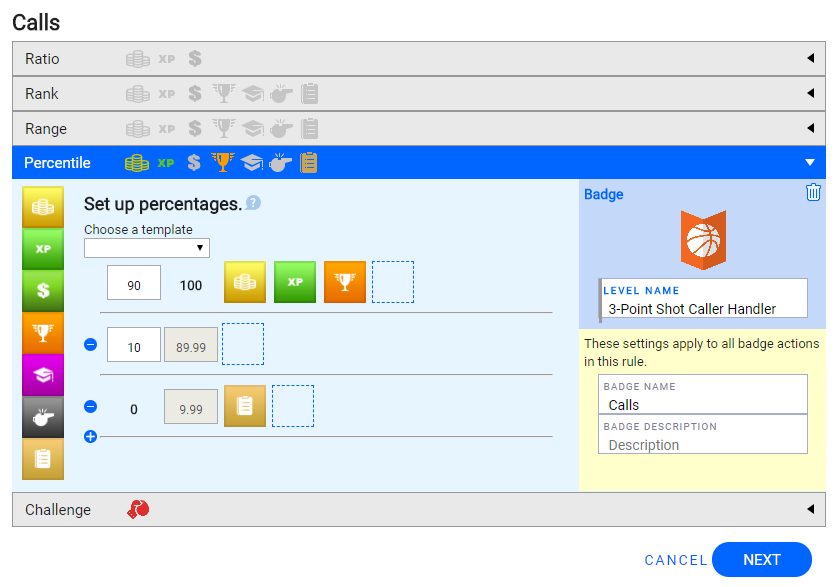
- On the Actions page, click the entity to which you want to add the badge. You can choose from Rank, Range, or Percentile.
- Click and drag the badge icon (indicated by a trophy on an orange background) from the left side of the page to an empty box in the Set Up section.
- In the Badge section on the right, click Select Badge to choose an icon for the badge, or to upload a custom icon.
(OPTIONAL) Upload Custom Icon
- In the Choose Image wizard, click the Add icon (indicated by the plus sign in a blue circle).
- Drag and drop an image in the wizard, or Click to browse, navigate to the image, and click Open.
- Click the Accept icon (indicated by a checkmark on a green background) and then click Next.
- Click the background for the badge and then click Next.
- Customize the color scheme for the badge using the color picker, scale, shading, and white-out options. You can optionally type a Name for the badge icon.
- Click Next.
- Click Finish.
- Type a unique Level Name for the badge.
- (OPTIONAL) Type a Badge Name and Badge Description.
- Click Next and then click Save.
Edit Badges in the Rules Engine
- Click Account → Rules Engine.
- Use the filtering options at the top of the page to limit your search and display the rule for which you want to edit a badge.
- Click Edit for the rule.
- Click Next on the Eligibility and Metrics pages.
- On the Actions page, click the entity for which you want to edit the badge.
- Click the badge icon (indicated by a trophy on an orange background) in the Set Up section.
- Modify the configuration of the badge.
- Click Next and then click Save.


