Before You Begin
Agent for Salesforce is supported by the following Salesforce editions:
- Professional
- Enterprise
- Unlimited
- Developer
- Performance
Confirm that you do not have a namespace defined in your Salesforce org. You typically define a namespace when you use a Developer org to create a managed package for distribution. The Agent for Salesforce has its own namespace and will not run in an org that has already defined one.
Ensure you are installing and using Agent for Salesforce on a supported platform and in a supported browser.
This is the first in a series of tasks required to install Agent for Salesforce. For more information, see Installation Overview.
Install Agent for Salesforce
- If you already have a contact center definition named NICE inContact Contact Center, rename it before you install the application, as the installation will fail as it tries to create a new contact center definition.
- Log in to the Salesforce org where you want to install the Agent for Salesforce.
-
Browse to http://appexchange.salesforce.com and search for NICE inContact, or browse to http://appexchange.salesforce.com/results?keywords=incontact.
-
Hover over Best-in-Class Omni Channel CTI / IVR / ACD / Dialer / Contact Center and click More.
-
Click Get It Now.
-
Click Install in production. If prompted, log in first by clicking Log in to the AppExchange.
- Agree to the terms and conditions, then click Confirm and Install.
- If prompted, select a user name and log in.
-
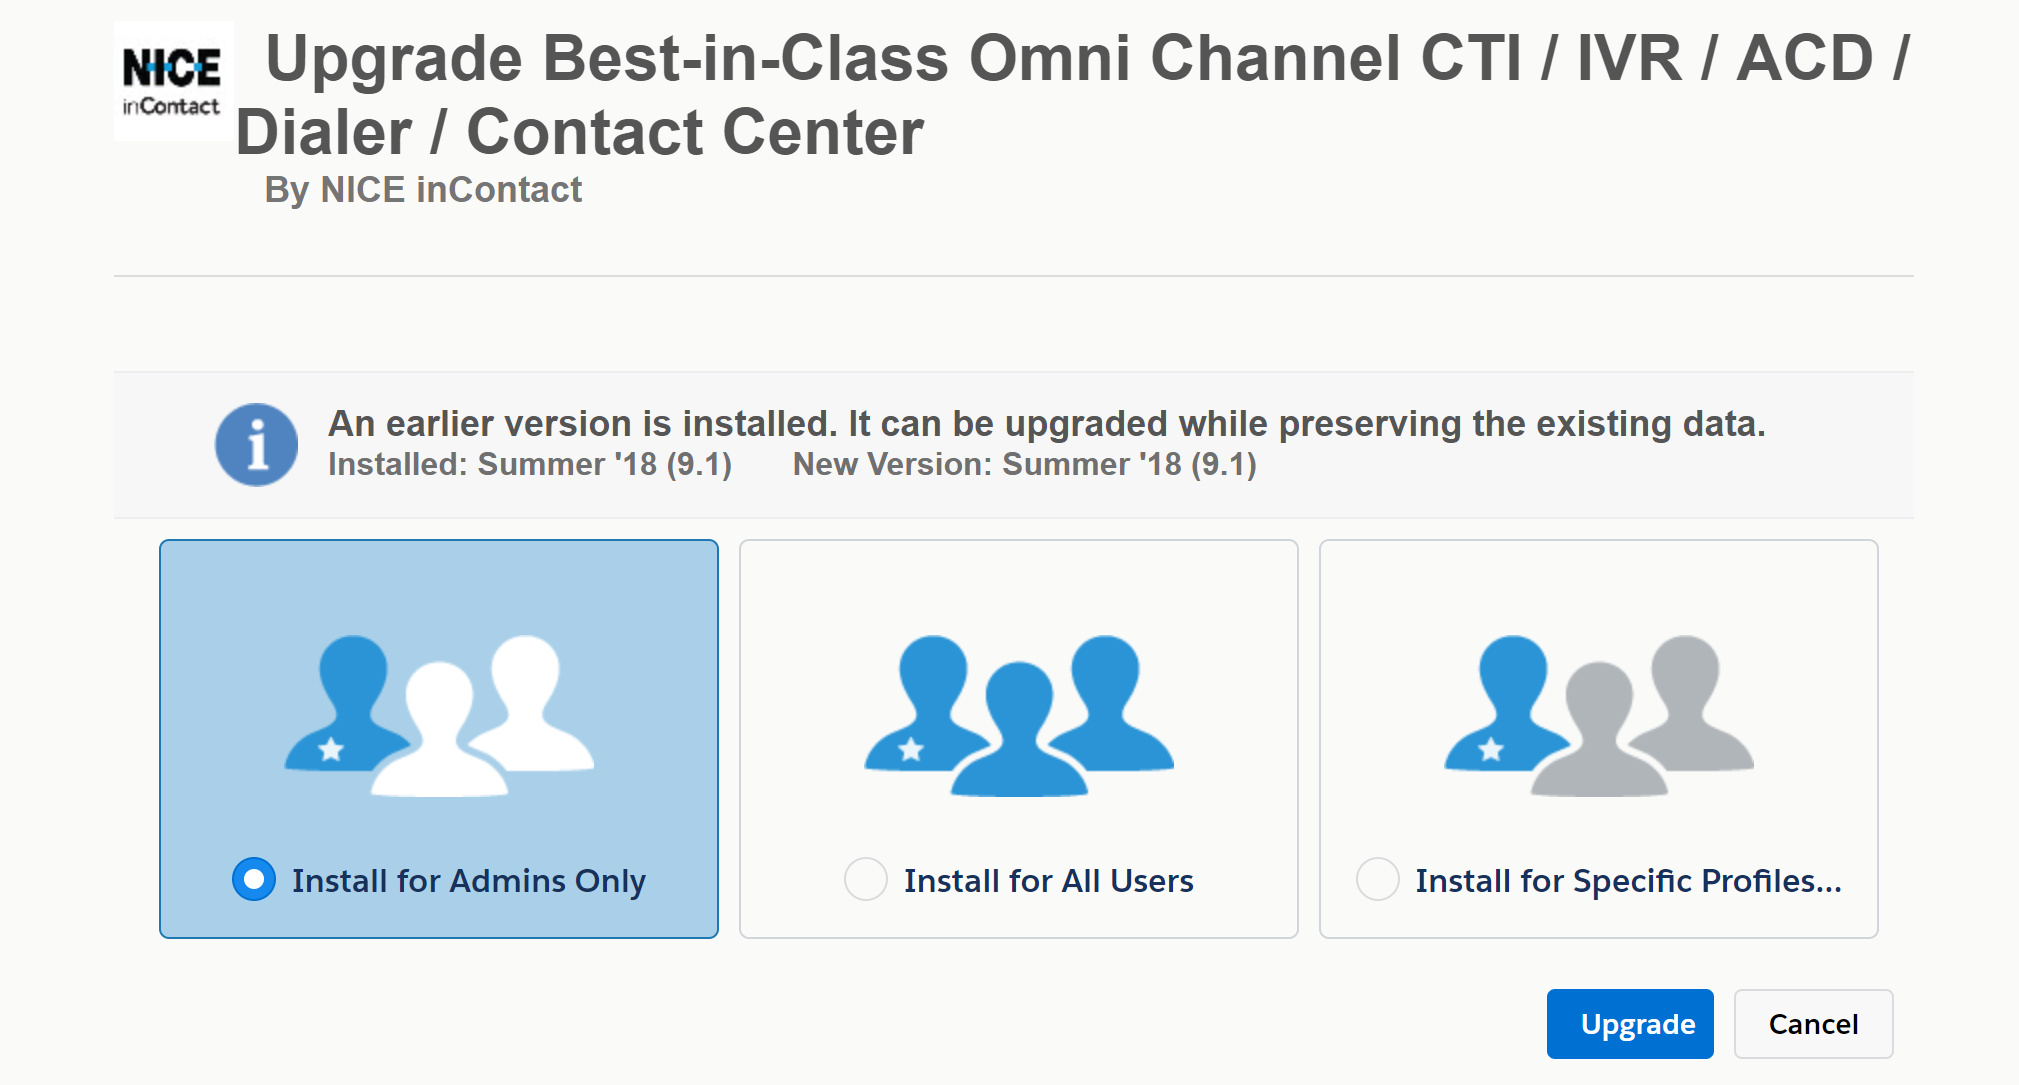
Choose whether to install for Admins Only, All Users, or Specific Profiles and click Install. If you choose Install for Specific Profiles..., you have the option to choose which profiles have access to the package. You can set a global policy by using the Set access level for all profiles to setting, and then modify profiles from there.
-
Grant access to api.incontact.com and click Continue.
- When the installation has completed, click Done.
- Return to the Installation Overview for the next step in this process.


