A voice prompt is a recorded message that is played by auto-attendants, interactive voice response (IVRInteractive Voice Response; an automated phone menu that allows callers to interact through voice commands, key inputs, or both, to obtain information, route an inbound voice call, or both.) systems, and other voice processing tools. The "prompt" is a request to input some kind of data, either through speech or through DTMF (the audible tones that correspond to pressing a key on your dialpad). For example, if you hear a menu with options to "press 1 for Sales or 2 for Support" then you are hearing a prompt that is asking you to input a value, specifically 1 or 2.
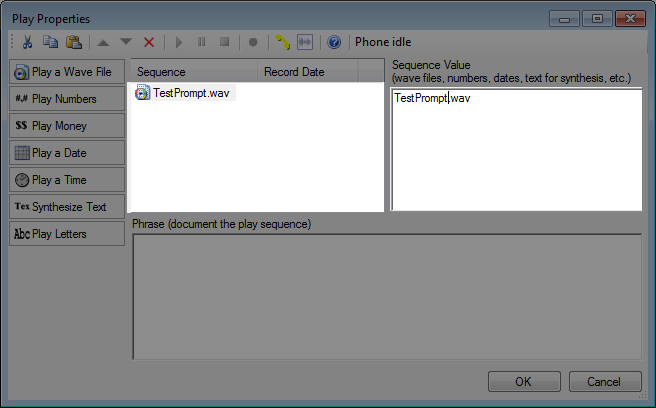
In Studio, only a few select actions have options to add a voice prompt, including MENU, PLAY, WHISPER, and ASRMENU. When you drag any of these actions to the canvas, you can double-click the action to open the Play Properties window:
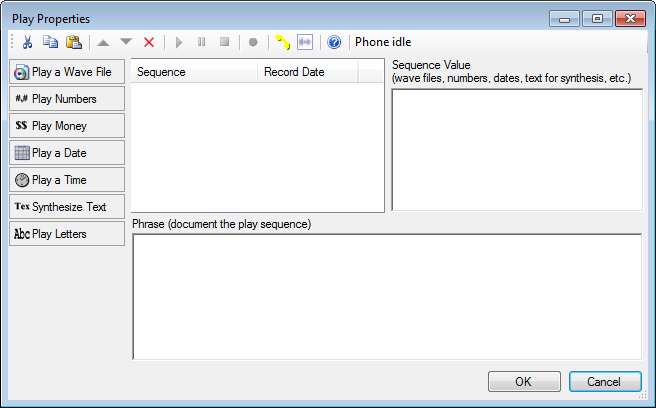
Though this window shows Play Properties in the title bar, it is most commonly referred to as the Prompt Manager. Use the steps below to record a simple prompt from the Prompt Manager.
-
Click the Framework tab.
-
 (OPTIONAL): Show the Framework Tab
By default, the Framework tab should show automatically, but if it does not appear, you will need to add it to the interface.
-
Click View.
-
Select Framework and the Framework tab will appear in the interface.
-
-
Open an existing script or create new one.
-
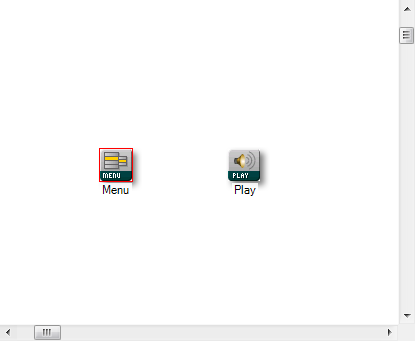
Drag an action that uses the Prompt Manager from the Framework tab into your canvas:
-
Double-click the action icon to open the Prompt Manager:

-
Click Play a Wave File and select New:

-
When you see a new sequence that appears in the Sequence Value field, type over the default value with a new name for the .wavWAVeform audio file; used to store audio bitstreams such as call recordings. file.
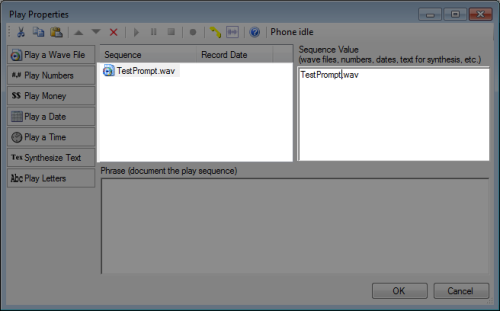
You will notice that when you change the name of the file in the Sequence Value field, the name also changes in the list of sequences as well.
-
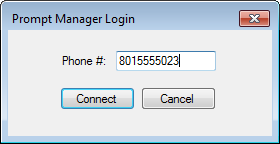
In the toolbar, click the Connect Prompt Manager icon:

-
When the Prompt Manager Login window appears, type the phone number of the phone that you want to use to listen to or record the prompt:
-
Click Connect.
-
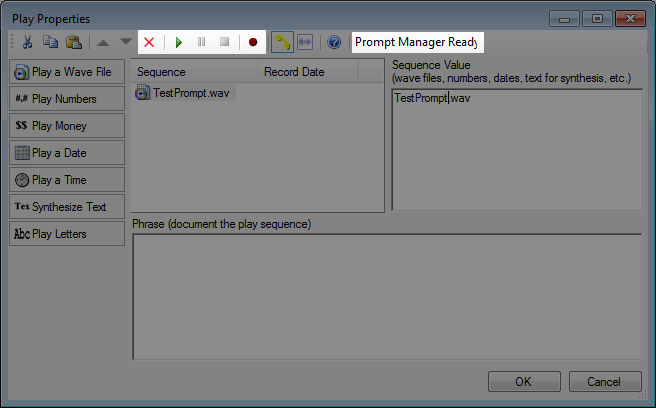
When the phone associated with the phone number you entered rings, pick up the handset.
After you pick up the handset, you will see certain icons in the toolbar become enabled. Additionally, you will see a notification telling you that the Prompt Manager is ready:

-
To begin recording your prompt, click the Record icon:

-
When you hear a beep over the handset, begin speaking your voice prompt clearly.
-
When you are done recording, click the Stop icon:

-
Without hanging up the phone, click the Play icon to listen to the recording:

-
If the voice prompt is acceptable, hang up the phone. If it is not acceptable, click the Record icon to record the prompt again.
Because you opened the Prompt Manager by double-clicking a specific action in your script, then when you view the properties for that specific action, you will see the name of the prompt you created has been automatically applied to the Sequence property:
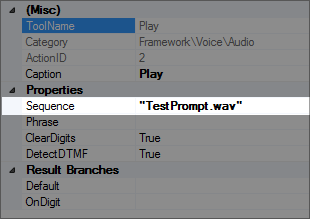
You can change this sequence value to select another prompt at any time.


