This topic explains how to create a certificate on the Skype for Business Server using the Microsoft Management Console (MMC), the third step in the installation and configuration process.
For more information on Skype for Business Connector, see Skype for Business Connector Overview. To return to the installation process, see Install and Configure Skype for Business Connector.
- Type MMC in a run command and click OK.
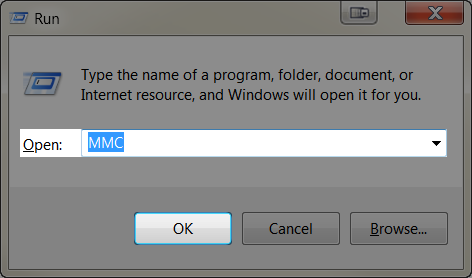
- When asked if you want to allow the program to make changes to your computer, click Yes.
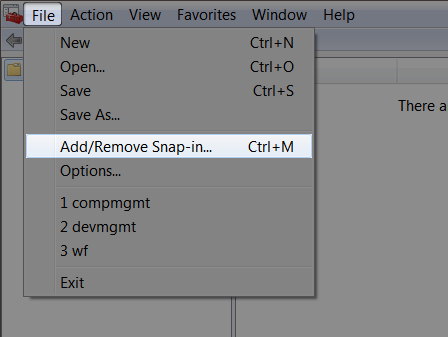
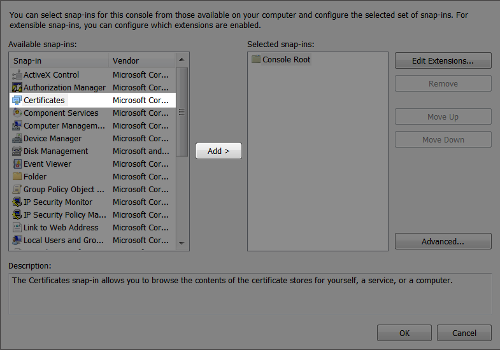
- Click File → Add/Remove Snap-in.
- Click Certificates → Add.
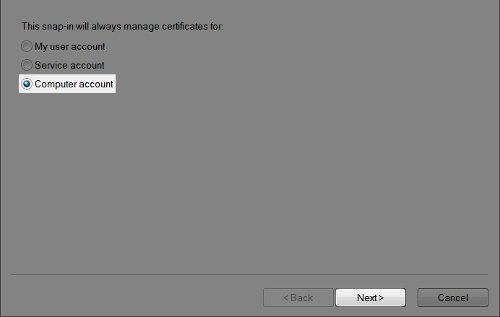
- Select Computer account and click Next.
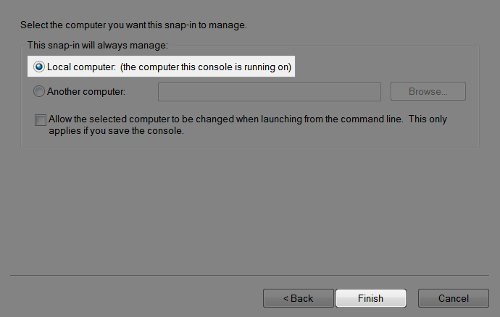
- Select Local computer: (the computer this console is running on) and click Finish.
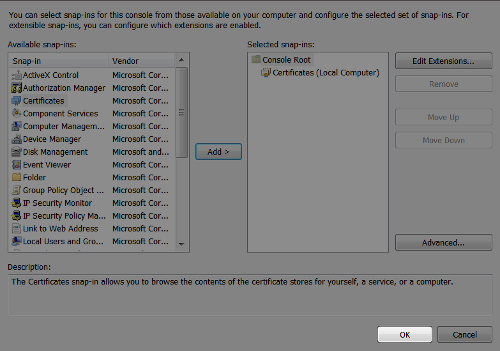
- Click OK.
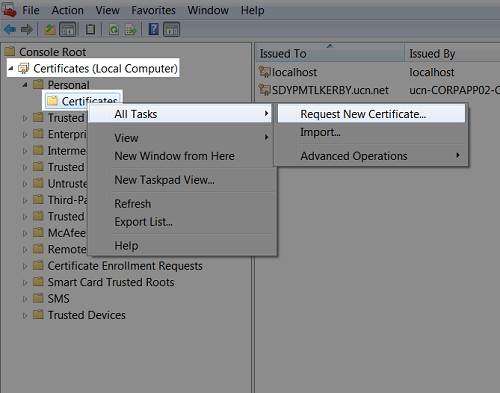
- Click Certificates → Personal → right click Certificates → All Tasks → Request New Certificate.

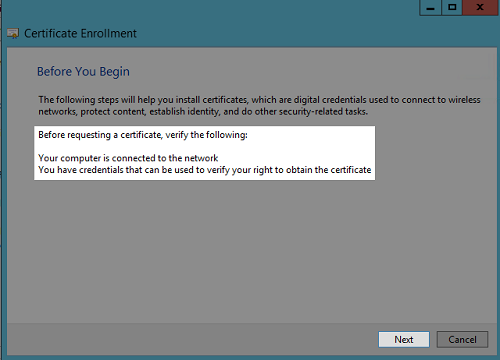
- Verify the listed information and click Next.
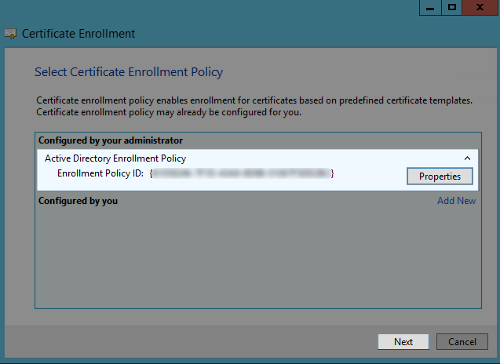
- Select the Active Directory Enrollment Policy and click Next.
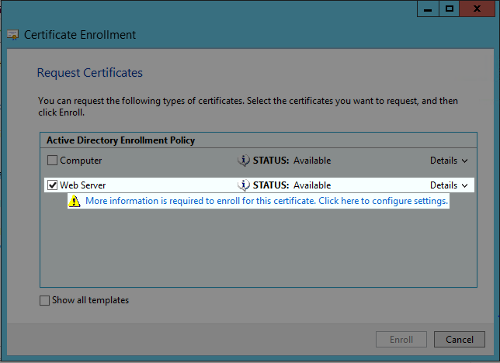
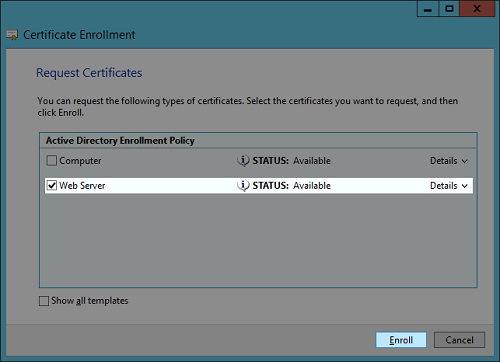
- Select Web Server and click the link to configure the settings.
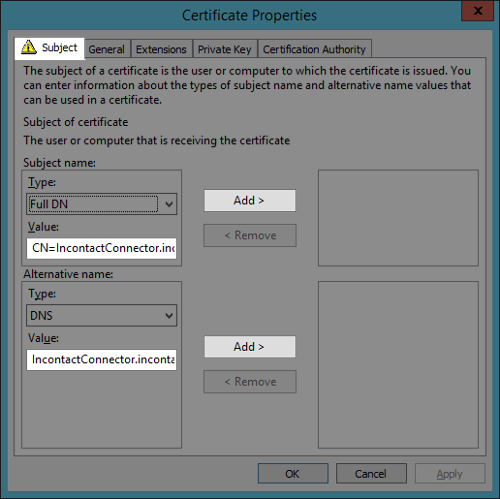
- Under Subject name, for Type, select Full DN and type the full computer name of the machine where you have Skype for Business Connector installed. Click Add. Under Alternative name, for Type, select DNS and use the same full computer name. Click Add.
- Click the General tab and type the Friendly name for the certificate. You will use this value as the Certificate Friendly Name when you configure the Skype for Business Connector application.

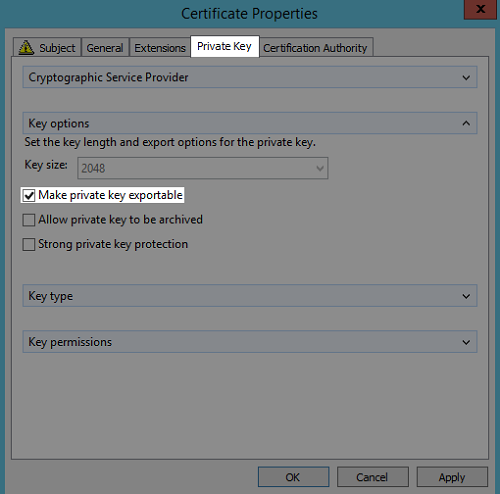
- Click the Private Key tab. Select Key options from the drop-down list and select the Make private key exportable checkbox.
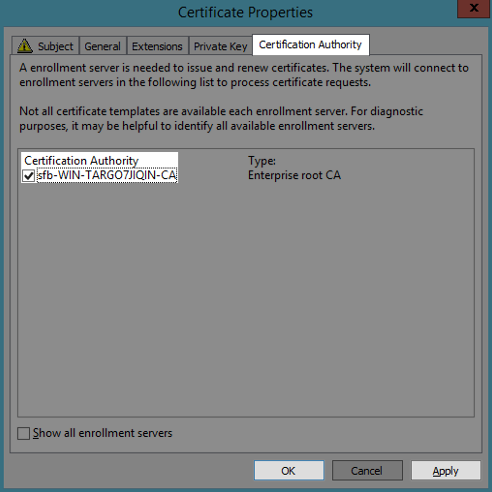
- Click the Certification Authority tab and ensure the selection of the certification authority. Click Apply and OK.
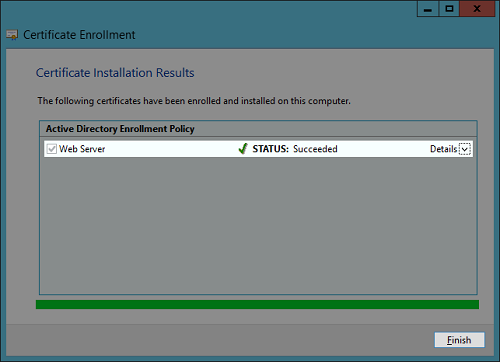
- Click Enroll.
- Click Finish.