This topic explains how to import a certificate you previously created and exported to the machine on which Skype for Business Connector will be installed. This task is the fifth step in the installation and configuration process.
For more information on Skype for Business Connector, see Skype for Business Connector Overview. To return to the installation process, see Install and Configure Skype for Business Connector.
- Type MMC in a run command and click OK.
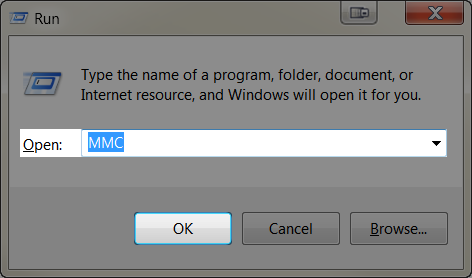
- When asked if you want to allow the program to make changes to your computer, click Yes.
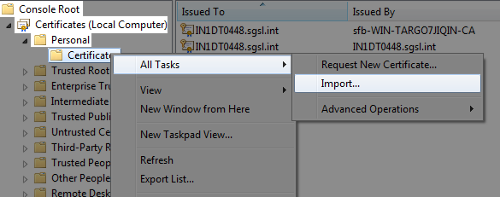
- Click Console Root → Certificates → Personal → Certificates. Right click All Tasks and click Import.
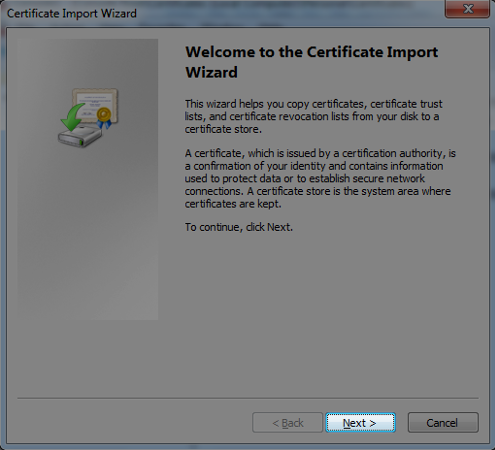
- Click Next to continue.
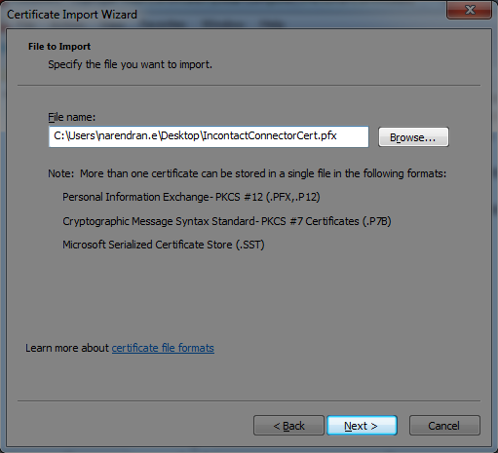
- Click Browse to select the certificate file and click Next.
- Type the password you chose while exporting and click Next.

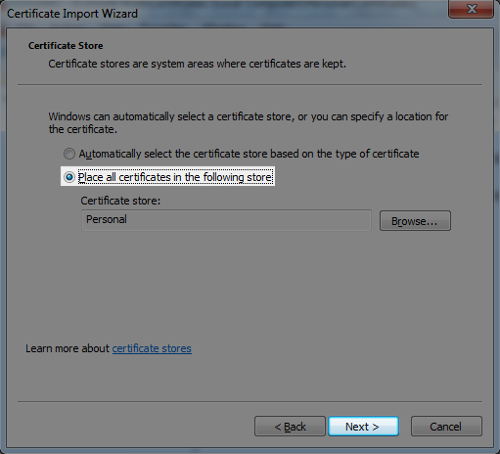
- By default, the certificate should be placed in the Personal certificate store. Click Next.
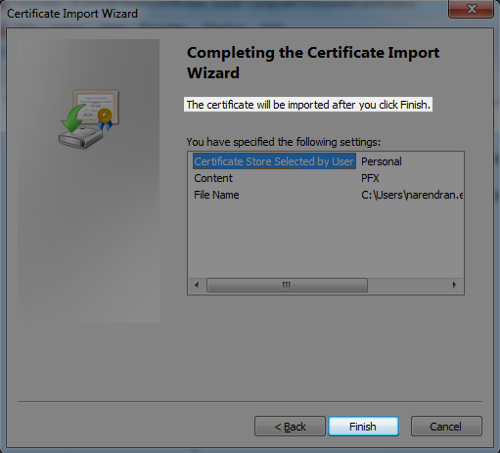
- Click Finish to start the import process.
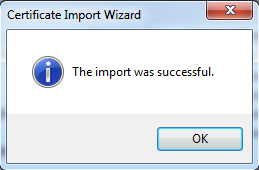
- After the certificate import completes, confirmation of success appears. Click OK.