An artist uses a palette to quickly apply his favorite paint colors to the masterpiece. Similarly, a scripting expert uses a palette to transfer Studio actions to the design scripting space.
In addition to making the scripting process easier, the palette also prevents the scripting expert from having to sift through the hundreds of available actions in the Framework tab.
The Tools tab contains a default palette, which is selected as the active palette when you log into Studio for the first time. The default palette appears as follows:
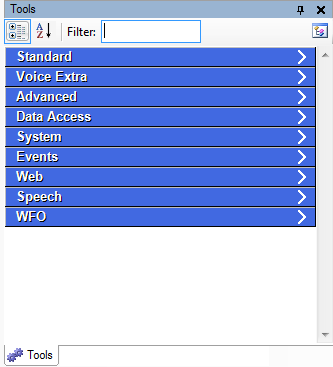
The blue line items shown in the default palette are called categories. You can add as many categories to a palette as you need to, and then you can assign Studio actions to each category.
You can select a different palette as the active palette at any time, but the palette that is selected as the active palette any time you log out of Studio will still be selected as the active palette the next time you log into Studio.
-
Click the Tools tab
-
 (OPTIONAL): Show the Tools tab if hidden
If the Tools tab does not display in the interface, then you will need to add it to the interface.
-
Click View.
-
Select Tools, and the Tools tab will display in the interface.
-
-
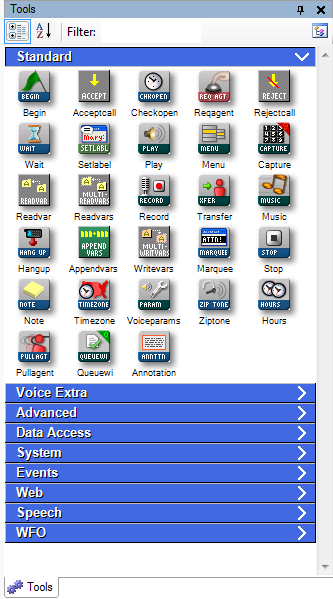
Click a palette category to expand it.
-
Click an icon once and drag it to the canvas.
In the Tools tab, you have to just click the action once and then move your icon to the canvas, unlike the Framework tab, in which you click and hold the icon to drag it to the canvas.
If you do not see an action in any of the palette categories, it may not be added to the palette. In this case, you can click the Framework tab to find it there.
-
Repeat the previous step for as many actions as you need to develop your script.


